There are many photo editing sites out there on offer. However, most of them seem to cost the earth. If you’re just starting out within your business, brand or hobby, you might not have the large budgets to use these big named websites. This is where Colorcinch is really helpful. Their website is designed for all levels and all budgets.
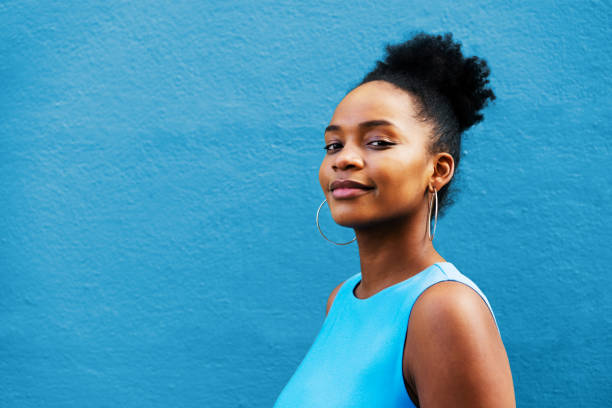
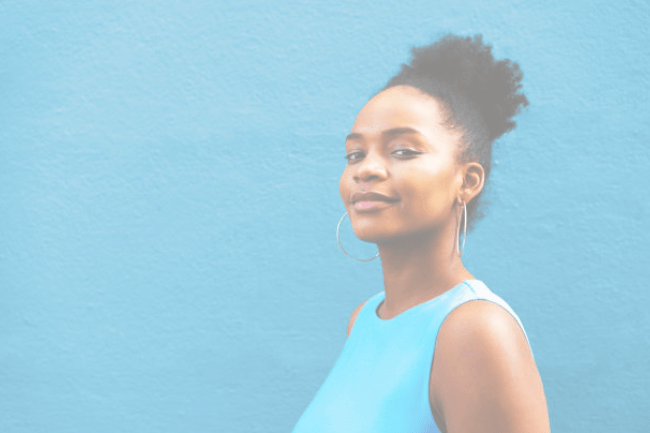
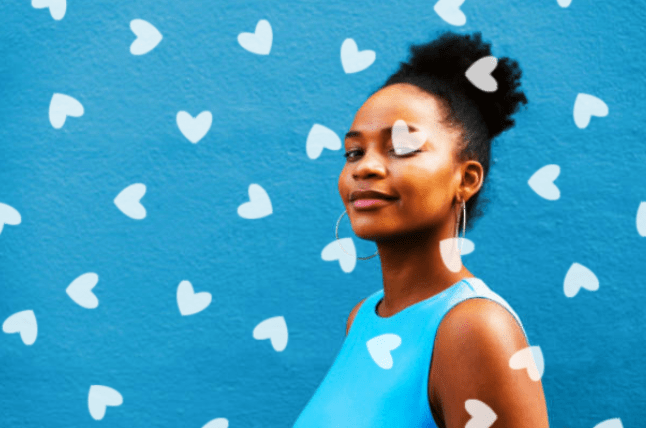
We decided to test out Colorcinch and what features they have to offer. This article will walk you through all the various options this platform can offer. When selecting an image to work with, we decided we’d pick a photograph of a human as this will help us determine how well these effects will work for the majority of our users.
Colorcinch even offer stock images which you can play around with, so you get a feel for their site. You can select from 2.5 million different photographs from different genres. This way you can learn the skills you might need for your own future projects. You can get the practise in before starting with your own photographs.
What is Colorcinch?
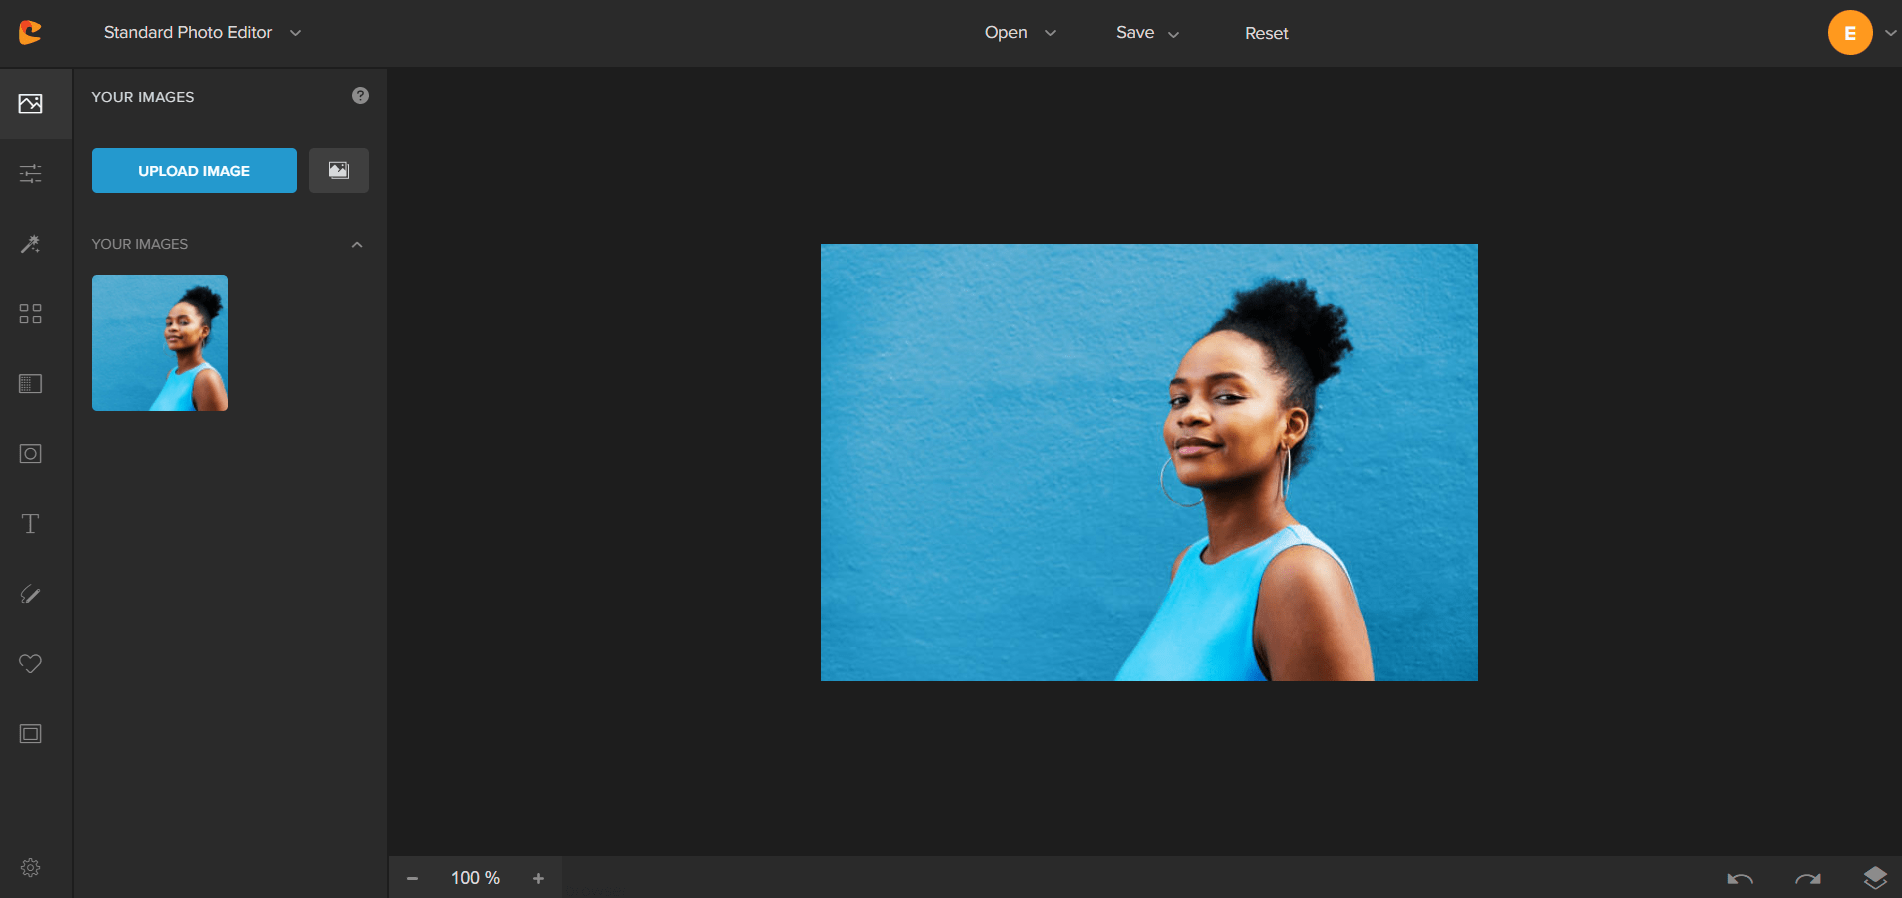
Colorcinch is a photo editing platform that can be accessed via the internet. You don’t need heaps of space on your computer to edit your images. Instead, just sign up, and you can edit from there. This makes the process much easier, as some of their competition require you to download software. Which, is not only taking up large amounts of space.
But, potentially slowing your computer down, and it’s time-consuming to download. With Colorcinch you can either use their site free of charge, or create your own account and upgrade. It really gives the flexibility for all their users. Which, us here at PUSH absolutely love. We’re all about offering creatives a service to thrive without having a heavy price tag.
Their features allow you to edit your images just as other photo editing platforms you might know. You can play around with general image features such as; exposure, hue, saturation and brightness. Also, you can add filters and overlays. They have what seems to be an endless pool of filters to choose from.
Not only can you make your images look beautiful, but you can also turn them into cartoons. This is something that could be a really powerful tool when either creating yourself a logo, or changing up your marketing tactics. If you don’t want your face to be the image of your brand or business, but still want that personal touch, why not turn yourself into a cartoon?
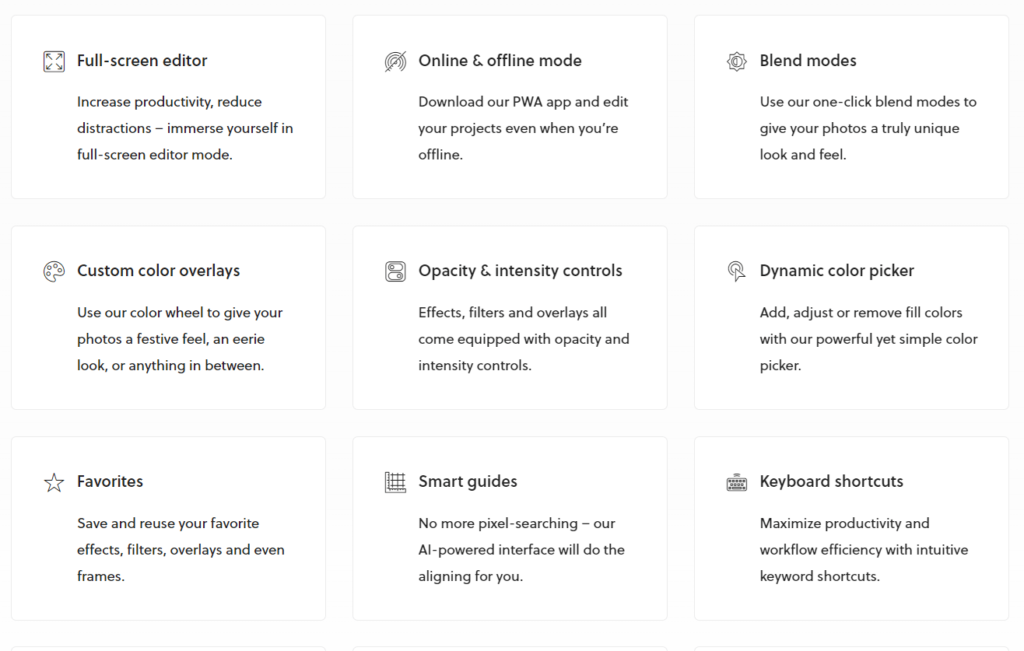
Here are some of their best features 
How much does Colorcinch cost?
This is one of our favourite parts about Colorcinch. They offer a completely free service as well as a paid version. Their free service can be accessed by anyone, without even creating an account. With their free version, you can still access a huge amount of resources to get you started. You might even want to try before you buy.
Just to ensure you’re going to get the most out of the platform. The choice is completely yours and there is no pressure to upgrade if you don’t feel it is necessary. If you’re a brand, business or creative in your very early stages, you might decide to use their free version before you are in a position to upgrade.
However, once you’re able to upgrade, we’re sure you’ll find it useful to. You will be able to access even more tools and features than previously. This could really set your marketing above your competition’s. Their annual plan will only set you back $4.99 a month. When you think about it, that’s just one cup of coffee.
The catch with this is, although it works out as only $4.99 a month, you do have to pay the entire year upfront. It works out as a discounted version if you pay it off in full. So, you’ll be paying $59.88 for the year. If you’d rather only pay per month and have the option to cancel; you can do this. It will cost you $8.99 each month.
With the huge saving of paying the bill off in full, it makes sense to do that. However, if you want to upgrade, but aren’t sure about the commitment of it just yet. Why not try out a few months at $8.99 before upgrading for the entire year? You can switch between payment plans whenever you like.
Although, you should be aware, a refund is only available within the first 30 days, so we would recommend you try it out fully before buying it. By upgrading you’ll be able to turn your photographs into something magical. We’re certain their features will be everything you need to create engaging and exciting content.
Colorcinch features
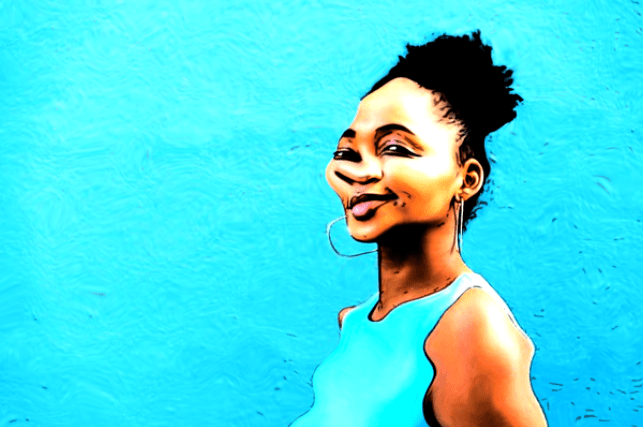
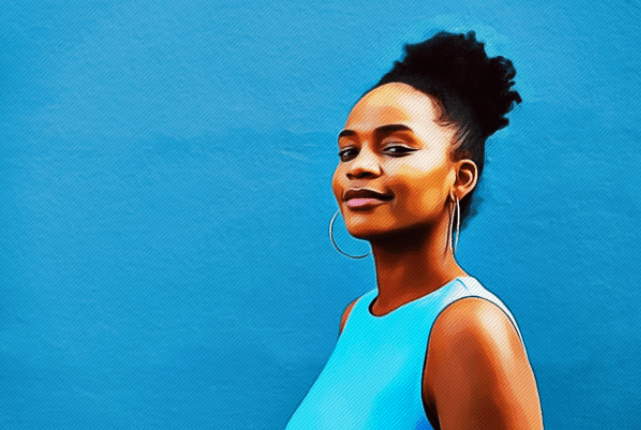
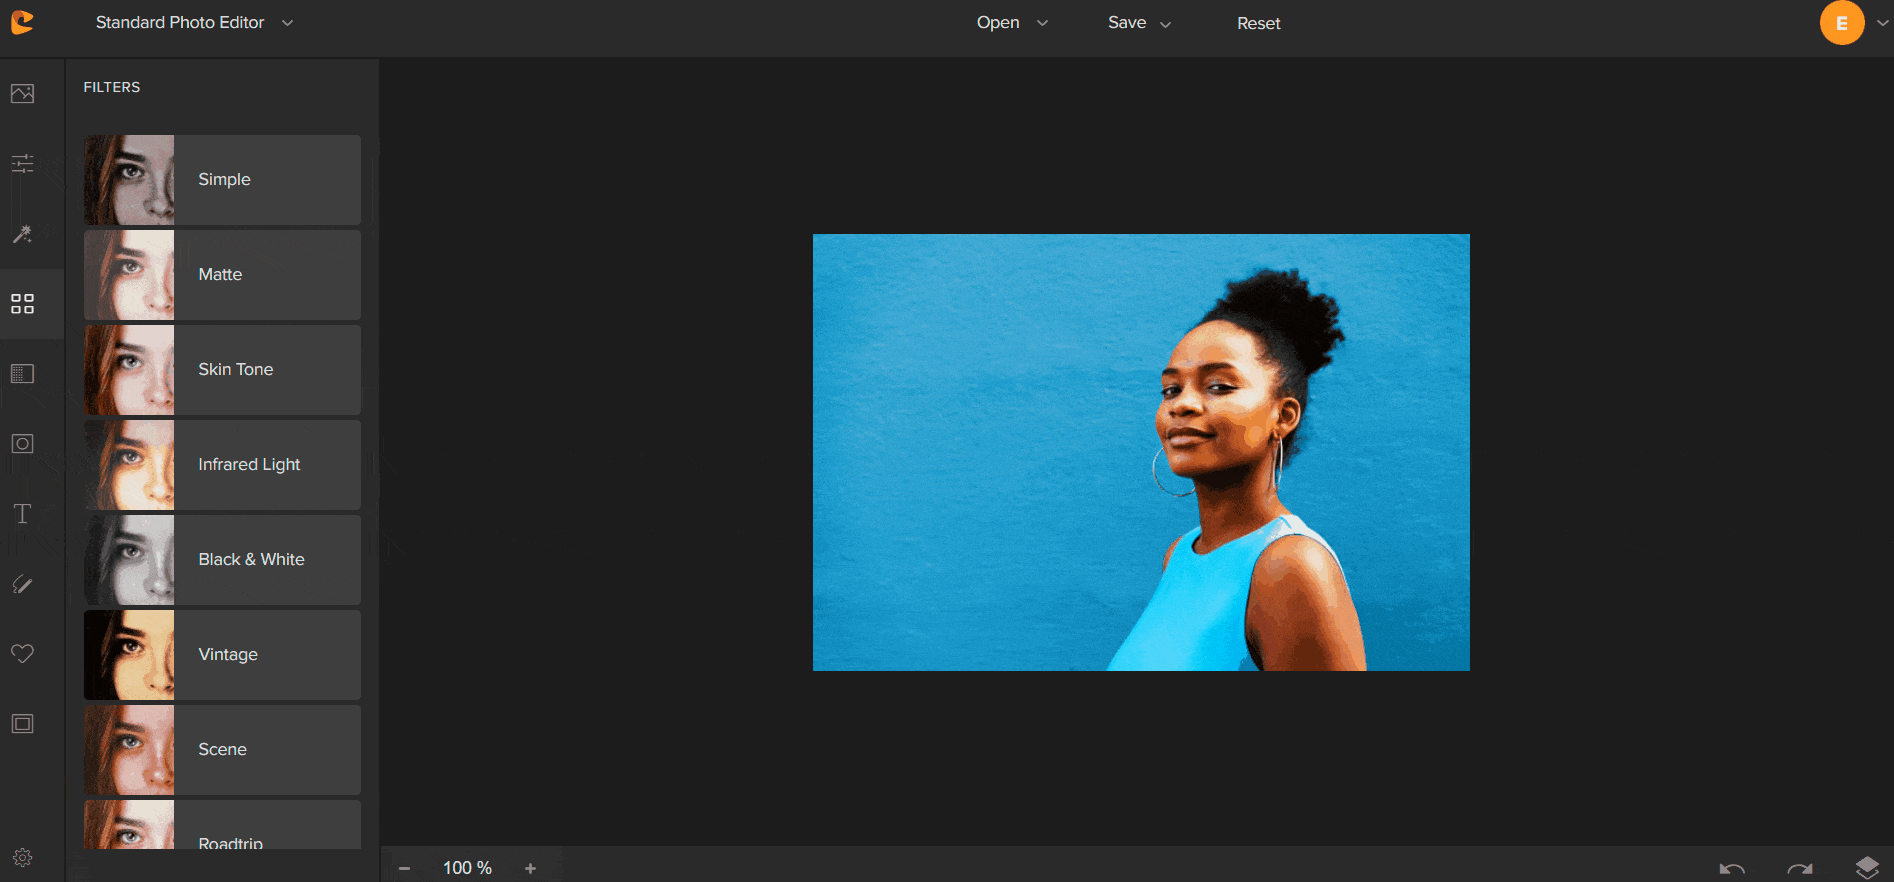
Now, onto the really fun part. We’ve tested out all the features available on Colorcinch’s premium plan. We’ve taken an image from Getty Images and played around with their various filters and backgrounds to see what we can create. You can go as wild as you like with Colorcinch. The best part is, every feature can be increased or decreased.
So, if you like an overlay for example but don’t want it to be as heavy and overpowering; you can tone it down. Reduce the amount, and you will be able to find the perfect balance for your work. There’s so much potential with Colorcinch that you won’t struggle to find the right option for you and your image. You get to be in charge.
Standard editing features
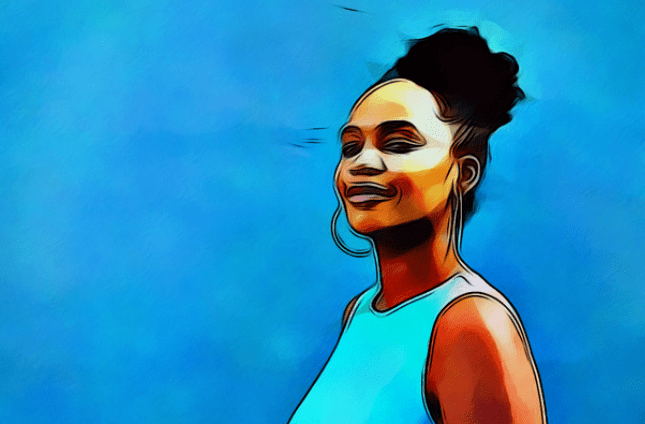
You have the ability to edit your photos using standard editing options. Change the brightness or exposure. Have a play around with the colours within the image and see what works best for you. If your image needs to be cropped or resized to fit within your marketing, social media accounts or website, you can do this. Enhance your photo’s vibrancy.
The best part is, nothing is permanent, so you don’t have to undo any mistakes. Not every image will work out the same. Depending on the colours and tones within the image chosen, will decide how much you have to alter the temperature or hues. . If you do need any further advice, you can find it through Colorcinch’s blog.
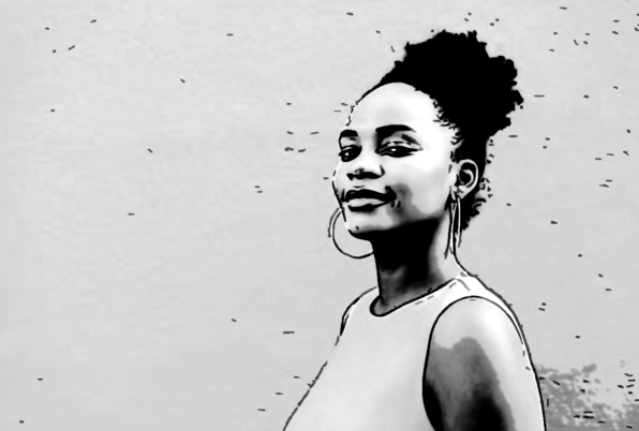
As you can see within the GIF we have added, we have experimented with our photo. We’ve enhanced certain features and decreased settings for others. It all depends on what you’re looking for. We decided to keep things quite simple, but there are plenty of options within the standard editing features alone to make your images wild.
Once you’ve got an image you’re happy with, you need to save it. Otherwise, the changes you’ve made won’t be counted, and your image will revert to the original. You can come back at any time. An important thing to note is, whatever filter or overlays you choose next will be edited if you come back to these options later on.
Effects
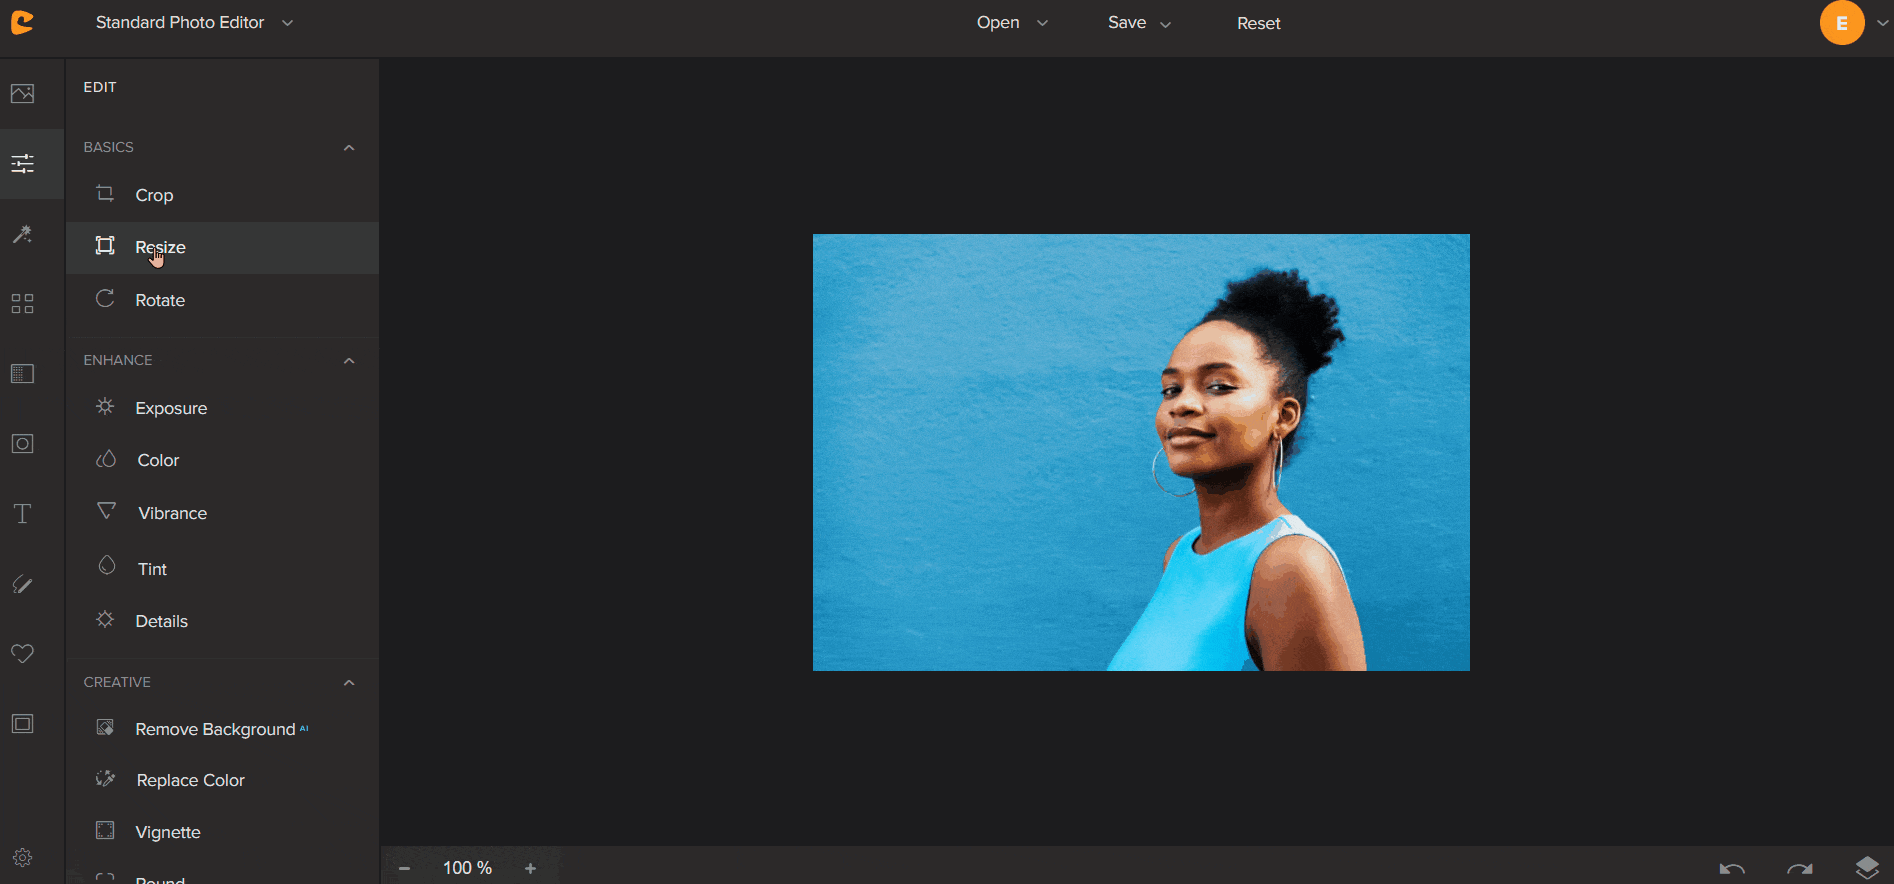
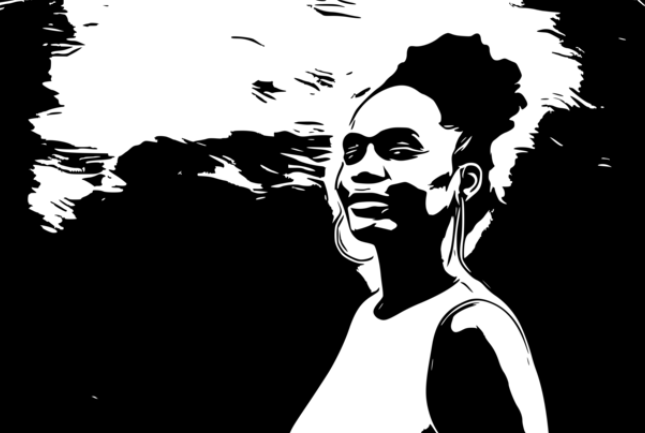
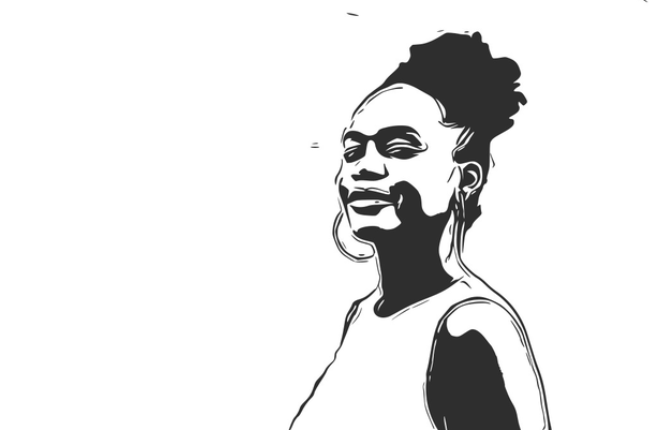
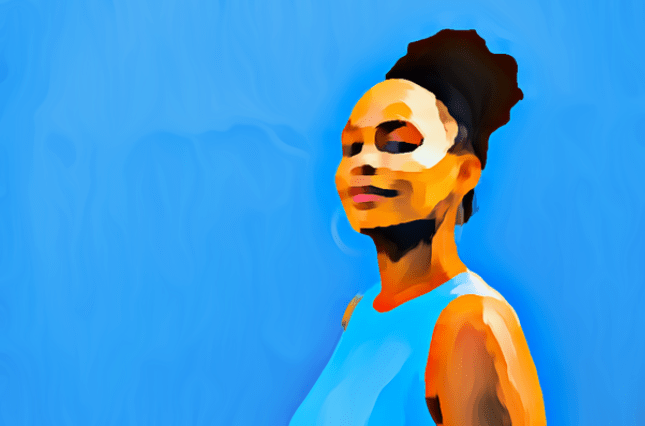
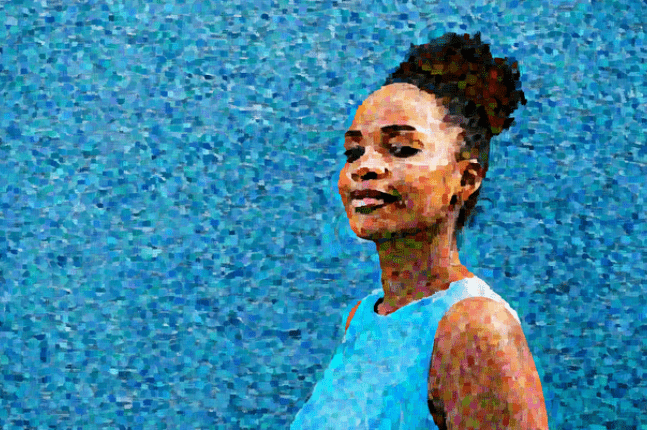
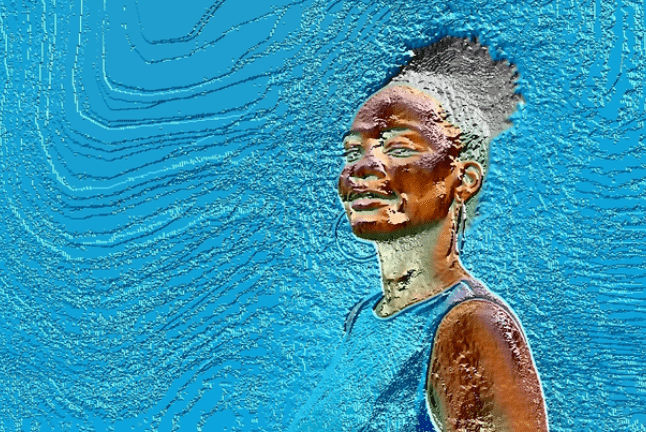
This is where things get exciting. You can create so many fantastic images through their effects. They have four categories and within each of these categories are a whole heap of effects. This is where you can turn yourself into a cartoon, or have a drawing style image created. Again you can enhance or reduce the effects.
If you love how your image looks, but it’s a little too much for your project, you can tone it down a little by using the toggle bar. The four categories are; Cartoonizer, Digital Art, Sketcher and Painting. We have tried out all of these and will place a few examples below. There are so many choices within these categories that it was hard to pick just a few.
Cartoonizer


Digital Art
Sketcher
Painting
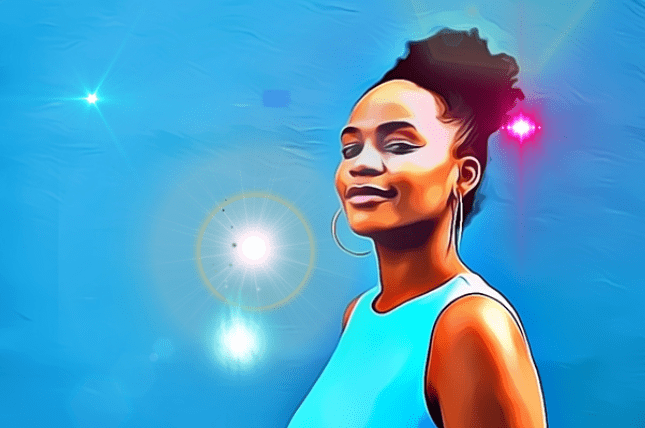
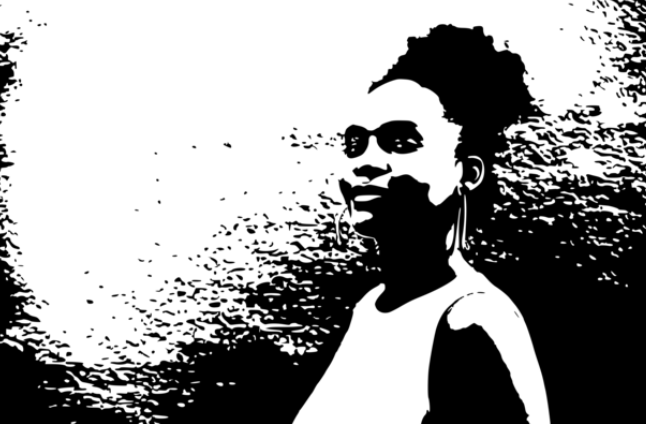
Filters
There are far too many filters to get through. We’ve tested out a few of them, but there are so many. Not that we’re complaining. Having an advanced filter library stands out in their favour. People often use filters within their images. Sometimes it can be a lot easier than editing using other options. They’re preset filters, so all you have to do is find the one that works best for your image.
This is where you can decide to turn your image into a black and white version if you wish. Again, with filters you can decrease the intensity. You might want a black and white image that is slightly faded, so some colour is creeping through. It’s completely up to you, but you have a lot to explore. There’s something for everyone. Here are a few examples again.
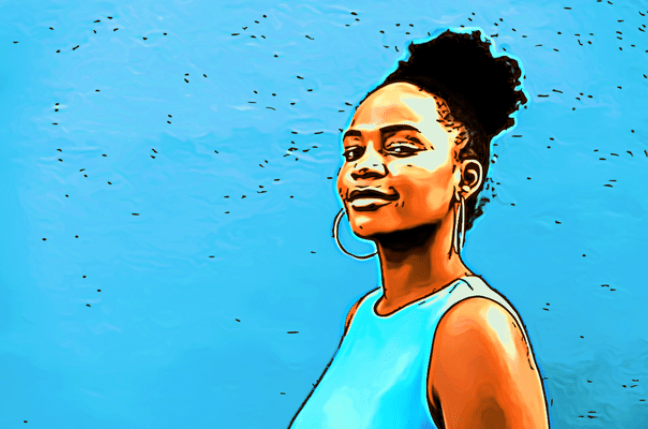
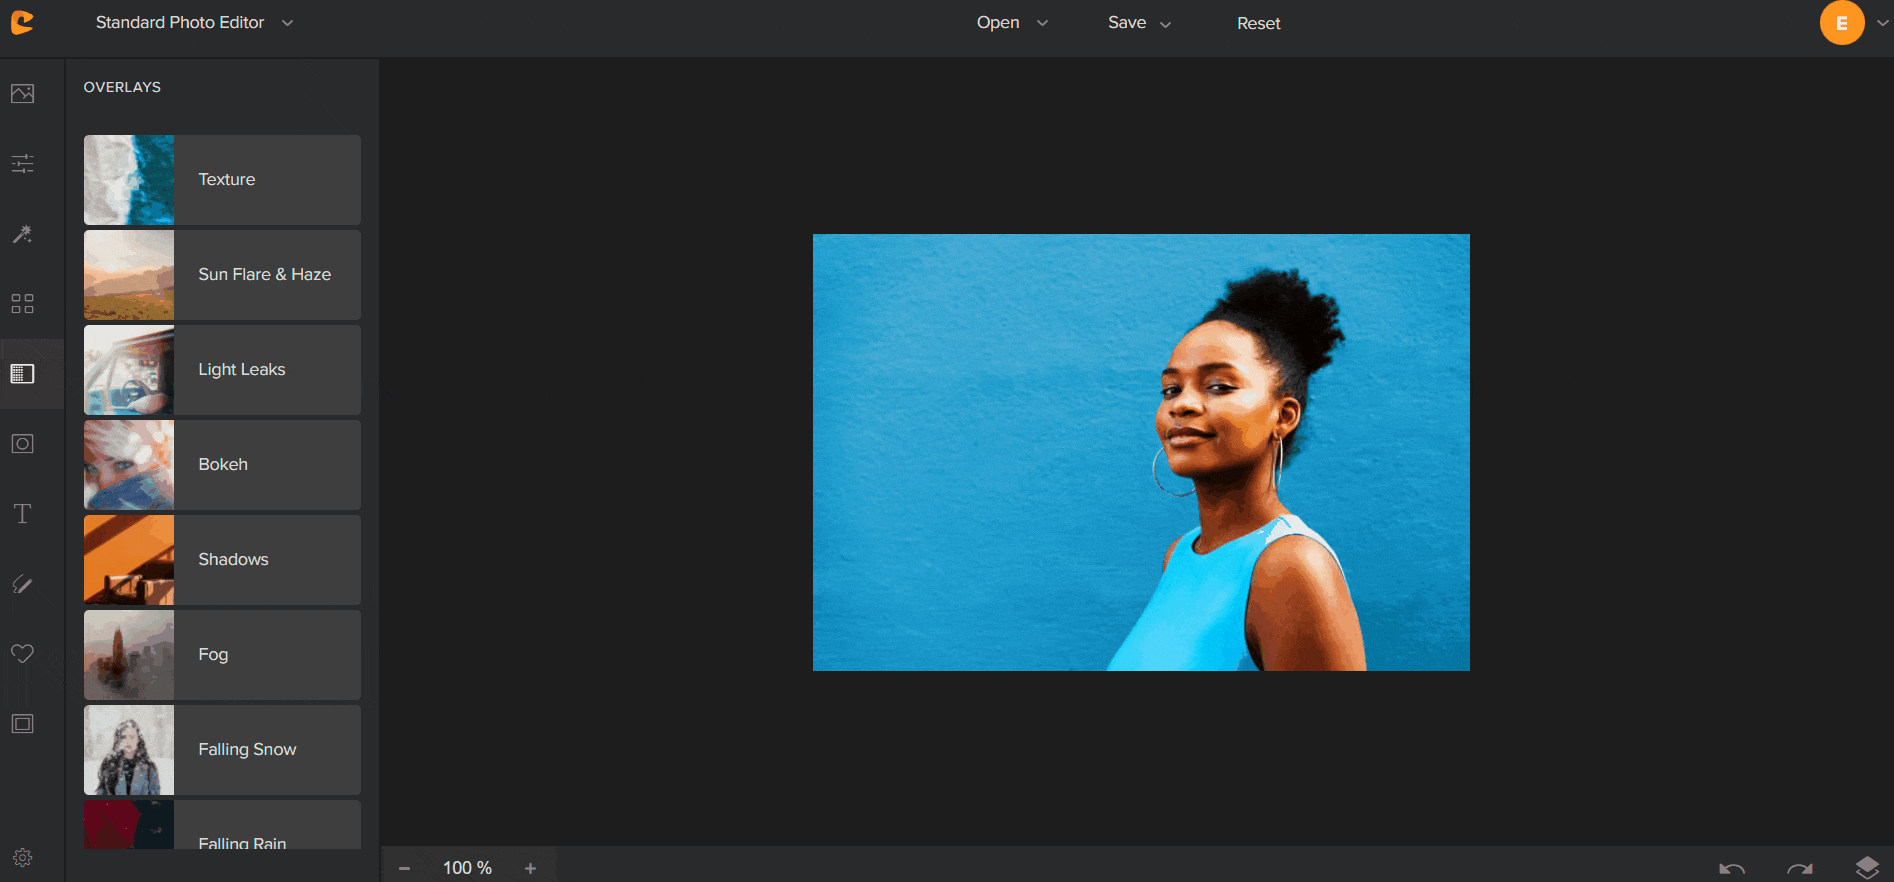
Overlays
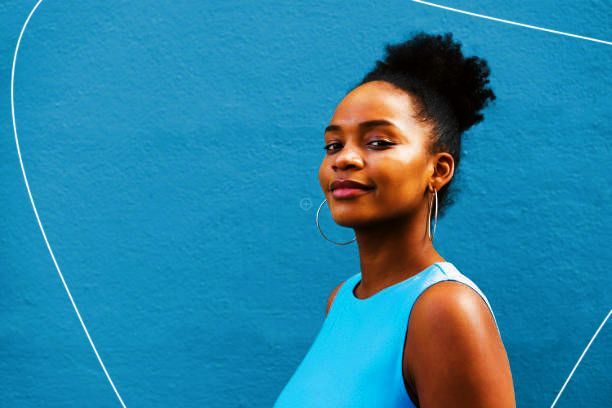
If you’re looking for light flares within your images, as if the sun has just hit in the right spot, you can do this. You can also add; texture, shadows, fog and even falling rain. That’s just to mention a few of the overlays they offer. Once you head into the categories themselves, they again have so many options to choose from.
Who would have thought you’d have different rain strengths to choose from? Do you want a complete downpour, or just a drizzle? If you’re looking for an abstract image, this is probably a section you shouldn’t overlook. There’s so much option that you can create all sorts of effects. Take a look at some options we’ve tried out.
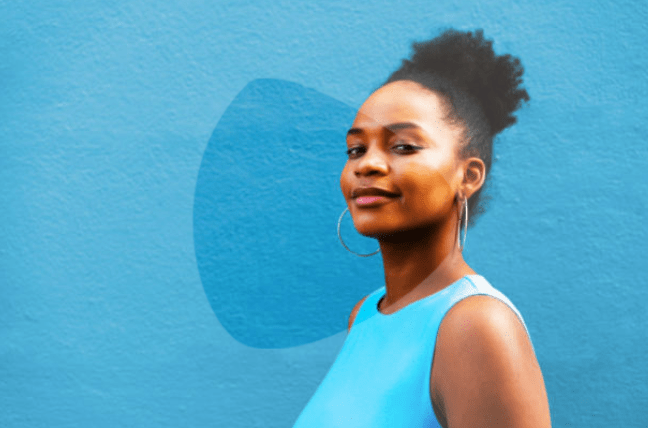
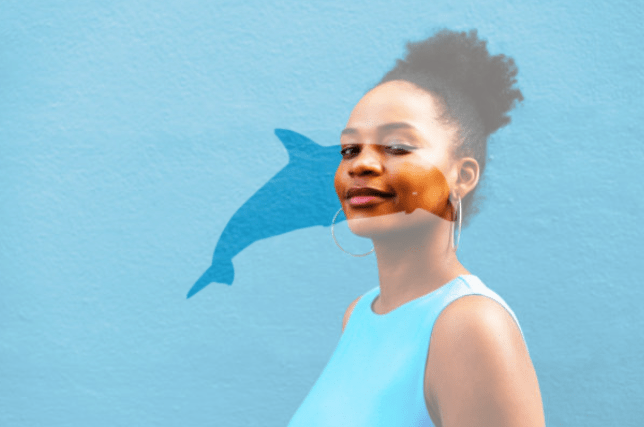
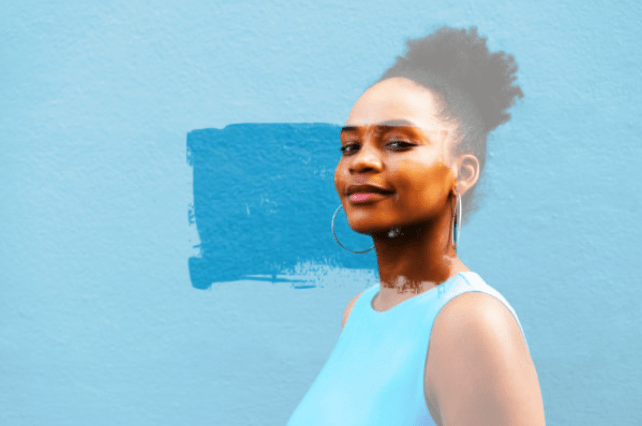
Masks
Masks allow you to cover certain areas of your image. They come in different shapes along with customised options. You might decide to have your image poking through but being partially blocked by a heart or star. There are a lot of fun and quirky masks to choose from. These can again be lightened, so the intensity isn’t so harsh.
That way you can have a faded mask covering your image. You can also add text to a mask. Maybe you want to put your brand name or business over your image in a more fun way than just standard text. Create something unique that will be completely different to the work by your competitors. Have a look at some of our suggestions.
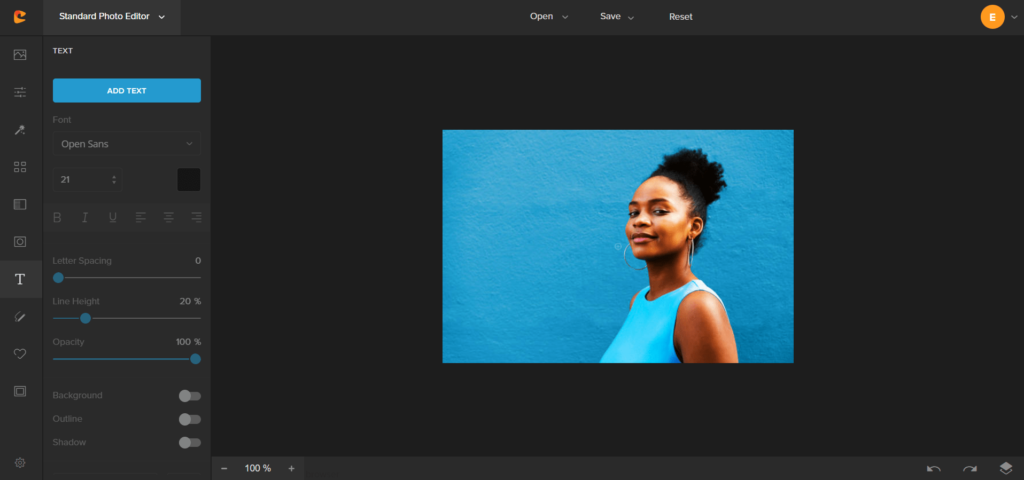
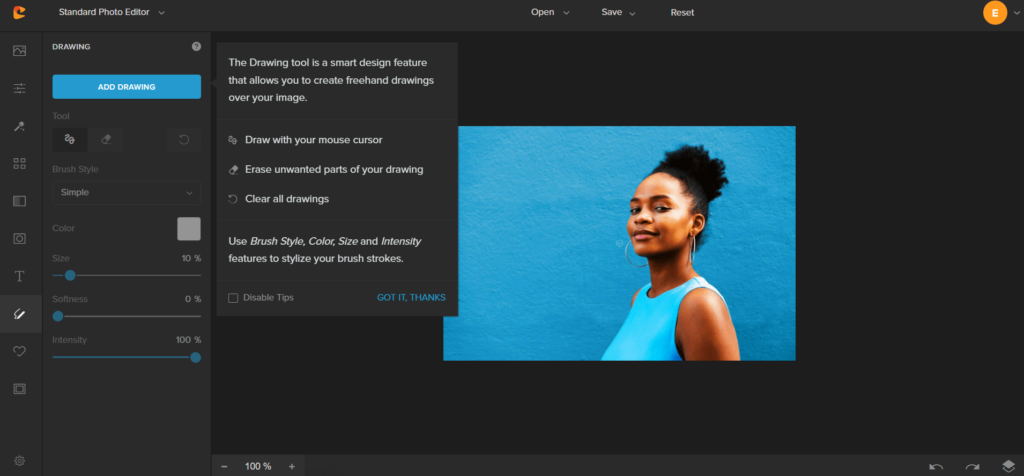
Text and Draw
These ones are pretty self explanitary. Text allows you to write information over your image. This could be useful if you’re wanting to create social media posts. You might want your audience to know about an exciting new product or event you have on its way. This is where you can add any relevant text in and customise the font and colour choices. Display it anywhere on your image.
Draw allows you to add your own personal stamp again. You can select a colour of your choice and decide your brush thickness. Then you can draw over your photo. Perhaps you want to hide certain information in a sneak peek post. Or, you might even want to get creative and add your signature or piece of artwork to your photo. It’s completely up to you.
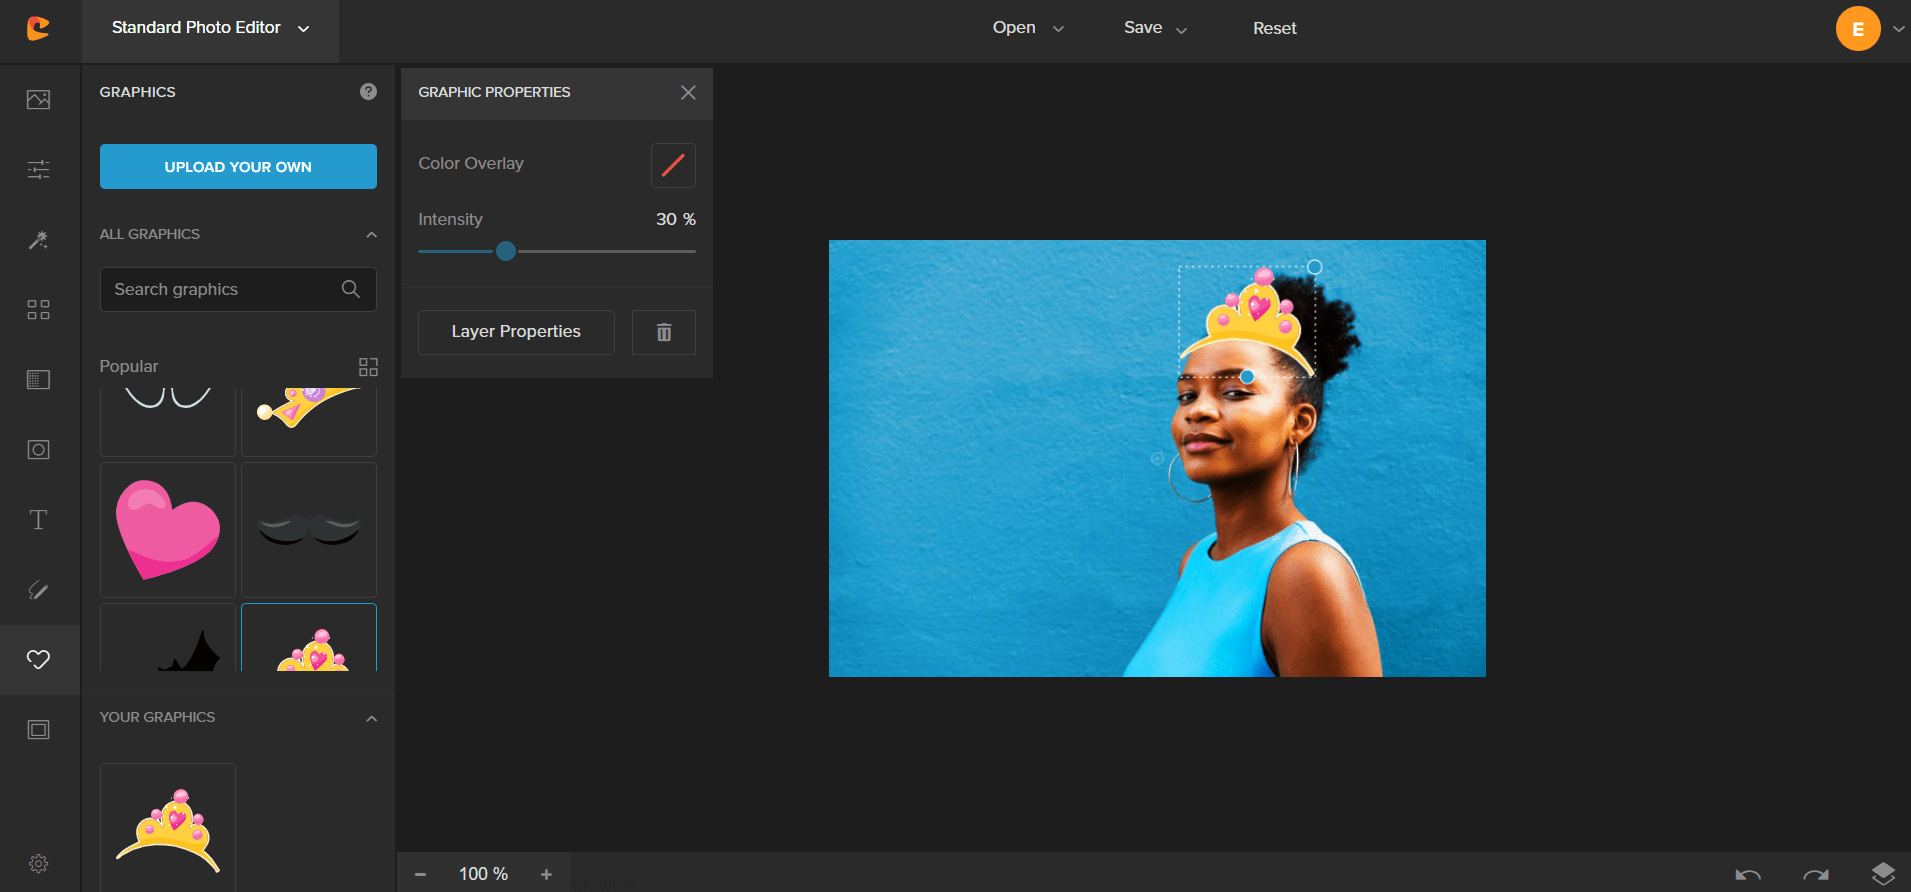
Graphics
Graphics gives you the opportunity to make your images creative. You can choose from a huge library of graphics and make your images stand out. Select a birthday hat, or add some sunglasses to your image. This could be great for brands that want to work with the seasons. It’s a quirky and easy way to do so. You could even use graphics for sneak peaks or hiding information as we’ve mentioned before. Have a look at one way we used graphics.
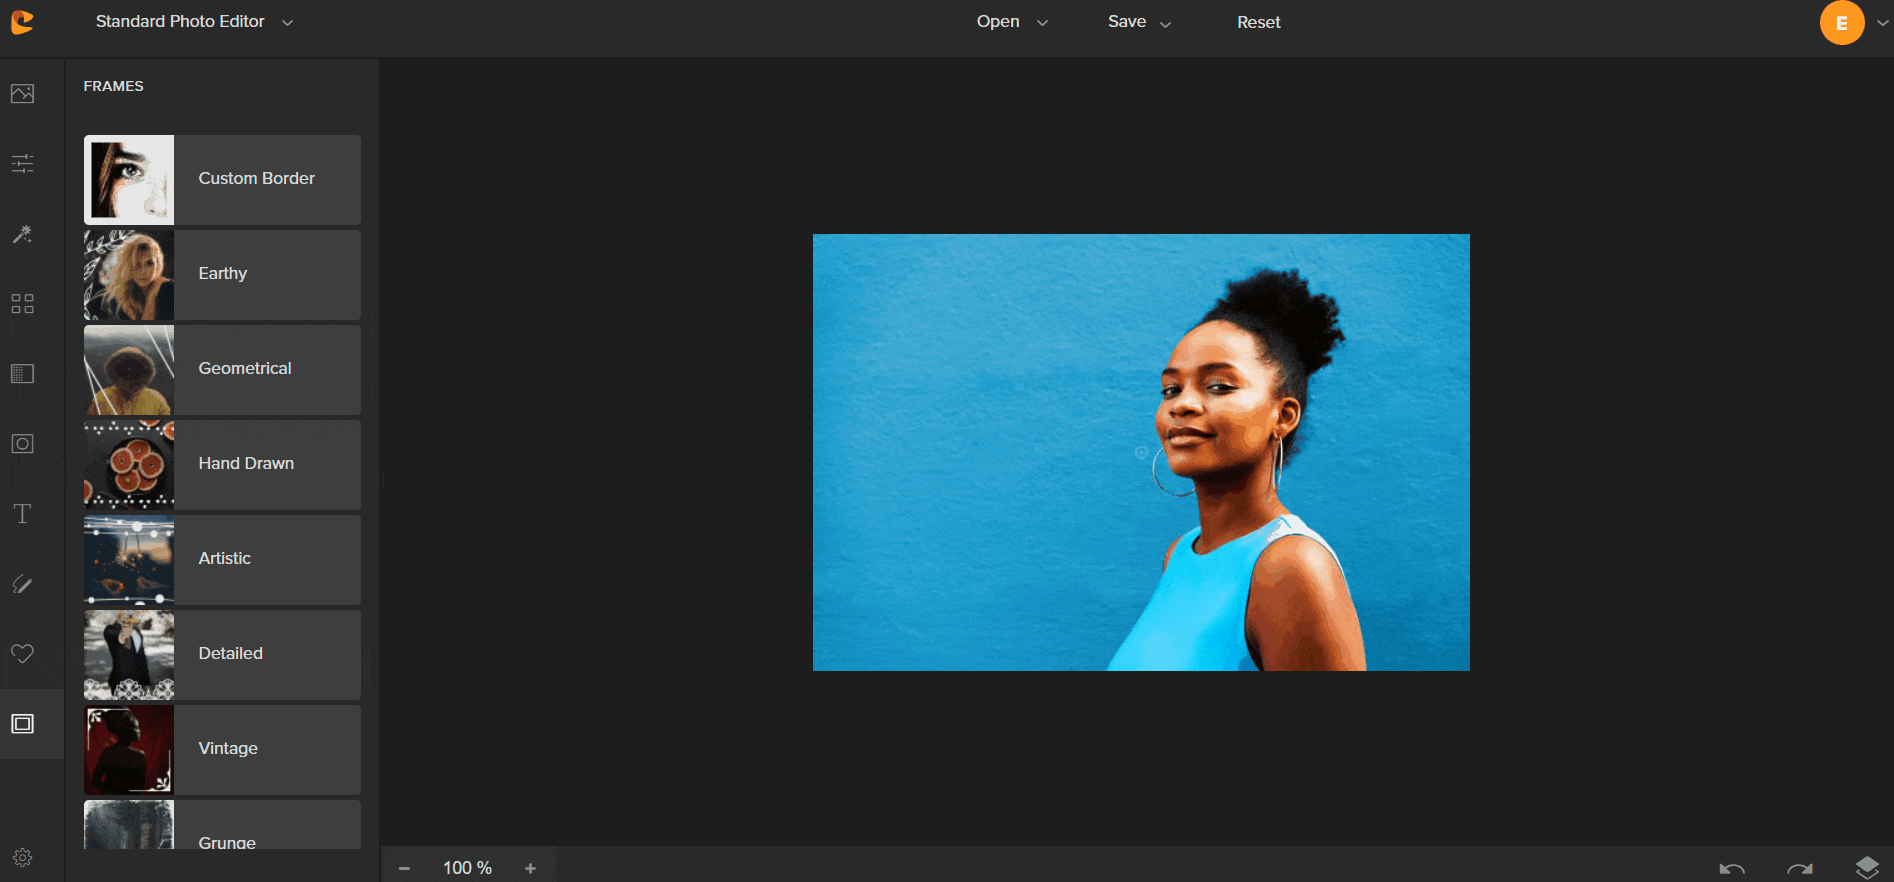
Frames
Again this one sounds obvious and it is fairly. But when you think of frames, you might just think of a border around your image. In this case it’s more than that. You can add finishing touches to your photographs. With multiple designs to choose from in each category, we’re sure you’ll find something to enhance your image.
You can add a classic style border, almost like a picture frame. Or, you can add something more subtle, perhaps just in the corners of your photo. Add something that will enhance your images. These frames might be great for those creating a logo for their brand. Take a look at just some of the options below.
As you can see, Colorcinch can do everything you will need from an editing site. Our personal favourite points are that they offer a free version, and that they don’t require you to download any software. When it comes to editing, you want no hassle or fuss. You don’t want to have to download huge files and run the risk of your computer lagging.
Having it online, where you can store projects means you can easily access it at any time. Also, you can use it on any device. You’re not paying for an account, downloading software and then only being able to use it on one computer. With Colorcinch you can use it anywhere, at any time. There’s no catch.
After trying out all the options they offer, here is a before and after of our image