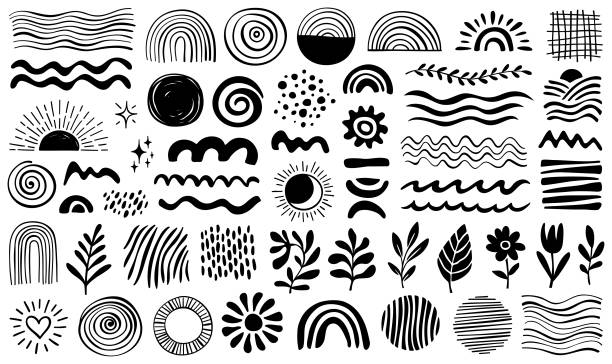
Doodling is a fun and accessible way to express creativity, but did you know you can transform your sketches into polished digital artwork?
Whether you’re an aspiring artist or simply looking to experiment, turning your doodles into digital art opens up endless possibilities. Here’s a step-by-step guide to help you get started.
1. Gather your tools
Before you begin, make sure you have the right tools for the process. You’ll need:
- A scanner or smartphone: To digitise your doodles, either scan them or take a clear photo with your phone.
- A computer or tablet: For editing and refining your work.
- Digital art software: Programmes like Adobe Photoshop, Procreate, or free alternatives like GIMP or Krita.
- A graphics tablet (optional): This can make the drawing process smoother, but a mouse or touchpad can also work.
2. Digitise your doodles
Once your tools are ready, it’s time to digitise your doodles. Follow these steps:
- Scan or photograph your artwork: Ensure good lighting and minimal shadows if using a smartphone. Adjust the focus for a crisp image.
- Transfer the image to your computer or tablet: Save your file in a standard format like JPEG or PNG.
3. Clean up your lines
Open your image in your chosen software and clean up your doodles. Use tools like the rubber or selection tools to remove smudges or unwanted marks. If the software has a “contrast” adjustment, increase it to make your lines more defined.
4. Trace or refine your sketch
To create a cleaner look, trace over your original lines digitally. Most art software includes layers, which allow you to:
- Create a new layer above your sketch.
- Use a brush tool to trace over your doodle.
- Adjust the opacity of the original layer to guide your tracing, while keeping the final lines bold and clear.
5. Add colour and texture
Digital tools offer endless options for adding colour and texture. Experiment with the following:
- Colouring tools: Use the paint bucket or brush tool to fill in your drawing.
- Textures and effects: Many programmes have built-in patterns or brushes that mimic real-world textures like watercolour or pencil.
- Shading and highlights: Add depth to your art by experimenting with gradients and shadowing techniques.
6. Experiment with backgrounds and details
Now that your main artwork is ready, consider adding a background or extra details to enhance your design. Use layers to experiment without affecting your main piece, and play with patterns, gradients, or complementary colours.
7. Save and export your artwork
Once your doodle-turned-digital-artwork is complete, save your file in a high-quality format like PNG or TIFF. If you plan to share it online, export a web-friendly version in JPEG format. Don’t forget to keep the editable file in case you want to make changes later.
8. Share your work
Showcase your digital art to the world! Share it on social media, upload it to online art platforms, or even print it onto merchandise like stickers, t-shirts, or posters. Sharing your creations can help you connect with other artists and build an audience for your work.
Turning your doodles into digital art is a fantastic way to enhance your creative skills and bring your ideas to life. With a bit of practice and experimentation, you can create stunning pieces that reflect your unique style. So, grab your tools and start transforming your sketches today!

