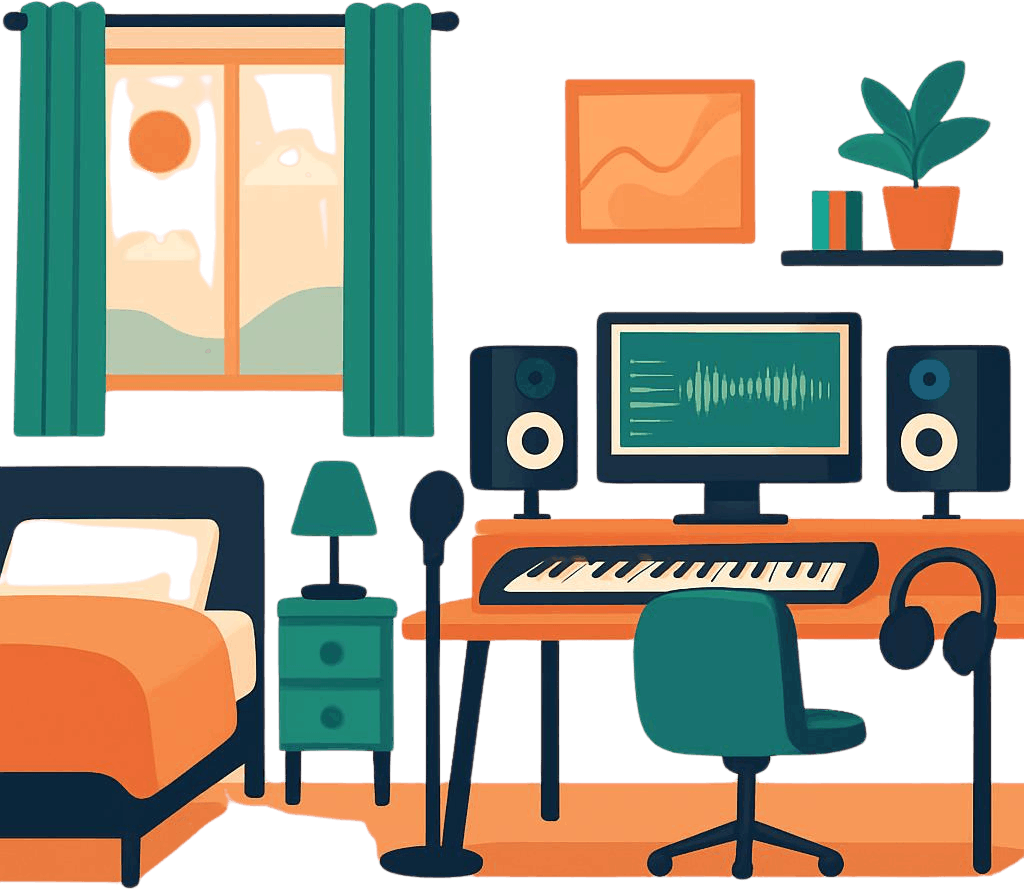
Setting up a space to record music, podcasts, or voiceovers used to cost thousands of pounds. Today, you can build a remarkably professional setup in your own bedroom for less than the cost of a weekend away.
If you already have a laptop or a desktop computer, you are halfway there. With the remaining £200, you can get every single piece of hardware and software you need to start releasing radio-ready tracks.
Here is how to stretch your budget to build a complete home studio.
The budget breakdown
To make music on a computer, you need three essential things: a way to get sound into the computer (a microphone), a way to process it (an interface), and a way to hear it accurately (headphones).
Here is how to slice up your £200 budget:
- The audio interface & microphone bundle: £120 – £140
- The headphones: £40 – £50
- The software (DAW): £0 (Free!)
- Accessories (Stand & pop filter): £15 – £20
1. The interface & microphone: Go for a bundle (£130)
The smartest way to save money as a beginner is to buy an “all-in-one” studio bundle. Manufacturers bundle their gear together at a heavy discount to get you started.
Look for the M-Audio AIR 192|4 Vocal Studio Pro or the Focusrite Scarlett Solo Studio (look out for sales or slightly older generations of these bundles, which are incredibly cheap now).
What you get in the box:
- A dedicated audio interface: This external sound card plugs into your computer via USB. It gives you the proper sockets for music gear and stops any annoying sound delays.
- A studio condenser microphone: This will capture crisp, detailed vocals and acoustic guitars.
- The cables: It includes the heavy-duty XLR cable needed to connect the mic to the interface.
2. The headphones: Studio monitors on a budget (£45)
You cannot use standard wireless earbuds or casual Bluetooth headphones for music production. They introduce lag, and they artificially boost the bass, which tricks you into making poor mixing choices.
You need a pair of wired studio monitoring headphones. They are designed to give a “flat” response, meaning you hear the music exactly as it actually sounds.
Top budget choice: Audio-Technica ATH-M20x (around £45)
These are an industry standard for beginners. They are lightweight, comfortable for long sessions, and provide excellent sound isolation, meaning the sound from your headphones won’t leak back into your microphone while you are recording.
3. The accessories: The essential extras (£20)
You cannot hold a studio microphone in your hand while recording—it will pick up the sound of your skin rubbing against the metal. You need two cheap accessories to finish your physical setup:
- A desktop mic stand or boom arm (£12): A cheap, clamp-on scissor arm attaches to your desk and keeps the microphone steady and right in front of your face.
- A pop filter (£6): This is a small mesh screen that sits between you and the microphone. It stops the blasts of air from words starting with ‘P’ and ‘B’ from overloading the microphone and ruining your recording.
4. The software: Spend absolutely nothing (£0)
Do not waste your budget buying expensive recording software (called a DAW). There are incredible, professional options available entirely for free.
- If you have a Mac: Use GarageBand. It comes pre-installed, it is completely free, and it is powerful enough to record hit albums.
- If you have a Windows PC: Download Cakewalk by BandLab. It used to be a high-end, paid software program, but it is now completely free and has no hidden limitations.
- For any computer: Waveform Free or the free trials of Reaper are highly capable options that won’t cost you a penny.
Summary of your £200 studio
| Equipment | What to buy | Estimated cost |
|---|---|---|
| Interface & Mic | M-Audio or Focusrite Starter Bundle | £130 |
| Headphones | Audio-Technica ATH-M20x | £45 |
| Accessories | Desk stand & mesh pop filter | £18 |
| Software | GarageBand or Cakewalk | £0 |
| Total | £193 |
A final piece of advice: Do not worry about your bedroom not looking like a professional studio. You can drastically improve how your microphone sounds simply by opening your wardrobe doors so your clothes absorb the room echo, or by recording with a heavy duvet draped behind you.

