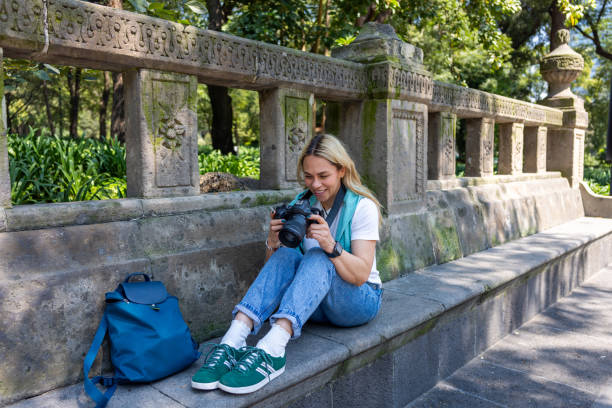
Shooting in manual mode can feel intimidating at first, but it gives you complete creative control over your camera. Instead of letting the camera decide how your photo should look, you make the decisions—about exposure, light, and depth of field. The result? Better photos that reflect your vision.

1. Understand the exposure triangle
Manual mode revolves around three key settings—aperture, shutter speed, and ISO. Together, they control how light or dark your image is.
- Aperture (f-stop) controls how wide the lens opens. A lower f-number (e.g. f/1.8) lets in more light and creates a blurry background. A higher f-number (e.g. f/8 or f/11) keeps more of the scene in focus.
- Shutter speed determines how long the camera’s shutter stays open. Faster speeds (e.g. 1/500) freeze motion; slower speeds (e.g. 1/30) can create motion blur or help in low light.
- ISO controls how sensitive your camera is to light. Lower ISO (e.g. 100) is cleaner with less grain, but higher ISO (e.g. 1600 or more) is useful in darker settings.
Getting the balance right between these three settings is key to a well-exposed photo.
2. Set your ISO first
Start by setting your ISO depending on the lighting situation. If you’re shooting outdoors in bright daylight, ISO 100–200 is ideal. For indoor or evening shoots, you might need ISO 800 or higher.
Try to keep ISO as low as possible to avoid grain (also called noise) in your images.
3. Choose your aperture based on depth of field
Think about what you want in focus. For portraits with a blurry background, go for a wide aperture like f/2.8. For landscapes or group shots where everything needs to be sharp, use a smaller aperture like f/8 or f/11.
Aperture also affects exposure—wider apertures let in more light.
4. Adjust shutter speed to balance exposure
Now adjust your shutter speed based on how bright the photo looks through the viewfinder or on the screen. If your image is too dark, slow the shutter down. If it’s too bright, make it faster.
Make sure your shutter speed is fast enough to avoid blur—especially when shooting handheld. A good rule of thumb: keep the speed faster than your lens’s focal length (e.g. 1/100 for a 100mm lens).
5. Use the light meter for guidance
Most cameras show a light meter when you shoot in manual mode. It usually looks like this:
-2...-1...0...+1...+2
You’re aiming to get the exposure around the middle (0), though some situations may require under- or overexposing slightly for creative reasons.
6. Take a test shot and adjust
Once you’ve set ISO, aperture, and shutter speed, take a photo. Check the result on your screen and adjust accordingly. If it’s too dark, try lowering the shutter speed, opening the aperture, or increasing the ISO. Too bright? Do the opposite.
7. Practise, practise, practise
Manual mode isn’t something you master overnight. It takes trial and error, especially in different lighting conditions. But the more you practise, the more confident you’ll become in reading light and making fast adjustments.
Shooting in manual mode gives you full creative freedom. At first, it might feel like more effort—but it’s worth it. Once you understand the relationship between aperture, shutter speed, and ISO, you’ll be able to capture scenes exactly how you imagine them.


