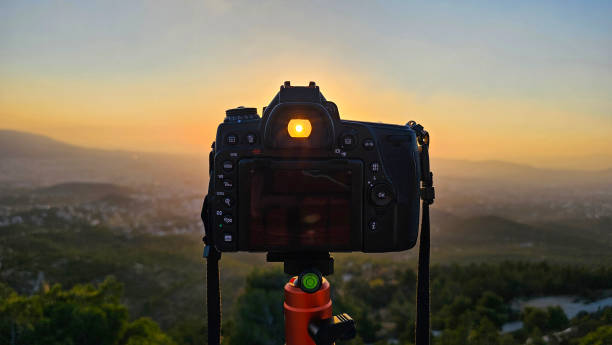
Using auto mode on your camera can be convenient, especially for beginners. However, relying on it too much can limit your creative control.

Using auto can prevent you from fully understanding how your camera works. If you want to improve your photography, here are the key camera settings you should stop using on auto mode and how to take control of them.
1. ISO
Auto ISO allows the camera to choose the sensitivity of the sensor based on lighting conditions. While this can be helpful, it often results in unnecessarily high ISO settings, leading to grainy or noisy images. Instead:
- Set ISO manually in well-lit environments (e.g., ISO 100–400 for daylight).
- Increase ISO only when needed for low-light situations (e.g., ISO 800+ for night photography).
- Use the lowest ISO possible for the sharpest, cleanest image quality.
2. White balance
In auto white balance (AWB) mode, your camera guesses the colour temperature of a scene. While it usually does a decent job, it can sometimes produce unnatural colours, especially under artificial lighting. To fix this:
- Manually select the correct white balance (e.g., ‘Daylight’ for sunny conditions, ‘Tungsten’ for indoor lighting).
- Use custom white balance settings for greater accuracy in tricky lighting situations.
- Shoot in RAW to adjust white balance easily during editing.
3. Autofocus mode
Auto mode may choose the wrong focus point, leading to blurry subjects. Instead of letting the camera decide, try:
- Single-point autofocus (AF-S/One Shot AF) for still subjects.
- Continuous autofocus (AF-C/AI Servo) for moving subjects like wildlife or sports.
- Manual focus for precision when shooting macro or low-light scenes.
4. Flash
In auto mode, the camera may trigger the built-in flash unnecessarily, resulting in harsh lighting and unflattering shadows. To avoid this:
- Turn off auto flash and use natural or artificial light sources instead.
- Use an external flash or bounce flash techniques for better lighting.
- Increase ISO or use a wider aperture in low-light conditions instead of relying on flash.
5. Exposure compensation
Auto mode may incorrectly expose your image, making it too bright or too dark. Instead:
- Use exposure compensation (+/- EV) to correct brightness without switching to full manual mode.
- Learn how to read the histogram to ensure balanced exposure.
- Experiment with manual exposure settings for full control.
Switching off auto mode may seem daunting at first, but taking control of your camera settings will dramatically improve your photography. Start by adjusting one setting at a time, such as ISO or white balance, and gradually move towards manual control. By learning how to make these adjustments yourself, you’ll have more creative freedom and achieve better results in your photos.


