If you’re a freelancer of any kind, you’ll need to prepare your own invoices. After all, they’re the way you’ll legally be paid for your work.
Creating invoices is essential for freelancers—it’s how you get paid! But if you’re new to freelancing or just haven’t written many invoices before, it can feel a bit intimidating. Don’t worry! Writing an invoice is straightforward once you know the basics. Here’s an easy-to-follow guide on how to write a professional and effective invoice.
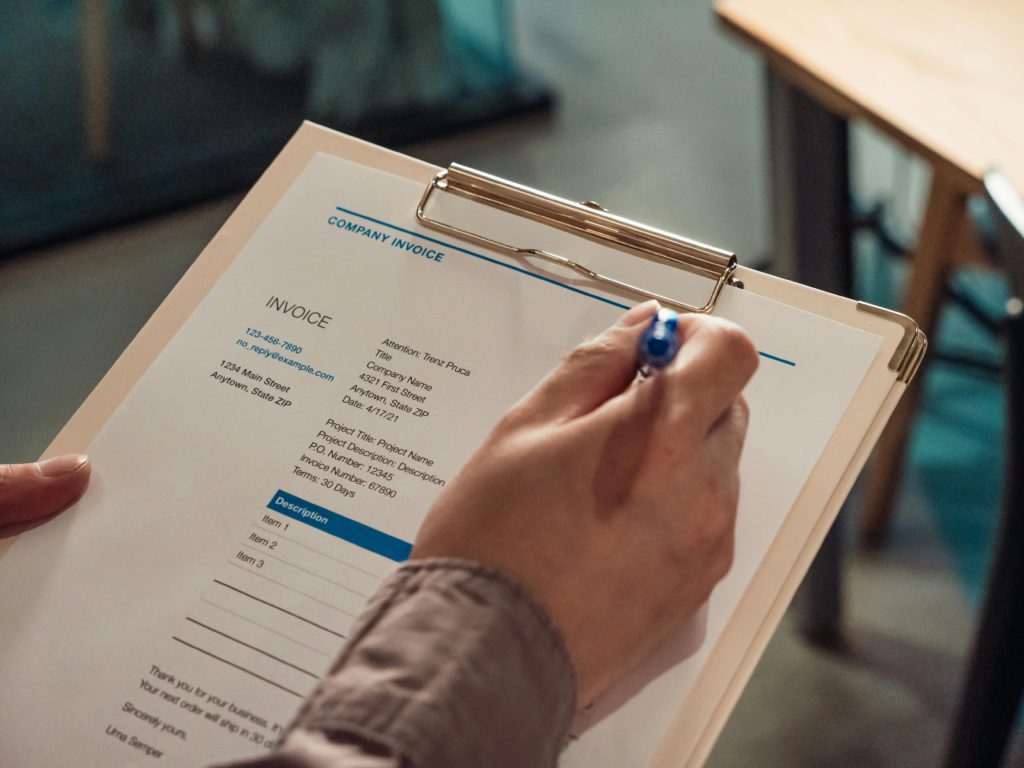
1. What is an invoice, and why do you need one?
An invoice is a document you send to your client after completing work. It details the services you provided, the cost, and payment terms. A professional invoice:
- Helps your client know exactly what they’re paying for.
- Sets clear payment expectations.
- Serves as a legal record of your transaction.
Having a well-organised invoice ensures that you get paid on time and strengthens your professional reputation.
2. Essential parts of an invoice
Here are the elements that should be included in every invoice:
a. Header and branding
- Your business name and logo (if you have one) make your invoice look professional.
- If you don’t have a business name, just use your full name.
b. Your contact information
- Add your address, email, and phone number, so clients can easily reach you with any questions.
c. Client’s information
- Include the client’s name or business name, and their contact details. This is important for clarity and record-keeping.
d. Invoice number
- Every invoice needs a unique invoice number. It can be as simple as #001, #002, etc. or a combination of the date and a unique number (like #2023-01).
e. Invoice date and due date
- The invoice date is the date you send the invoice.
- The due date is when payment should be completed. Common terms are “Net 30” (30 days from the invoice date) or “Due Upon Receipt.”
f. Description of services
- List all the services you provided in a clear and organised way.
- For example:
- Writing 5 blog posts
- Social media management (10 hours)
- Break down each service and add details as needed.
g. Rate and quantity
- For each service, include your rate (e.g., $50 per hour) and the quantity (e.g., 10 hours).
- This transparency shows the client exactly how the final amount is calculated.
h. Subtotal, taxes, and total
- Add up the total amount for each service and include the subtotal.
- If you charge taxes, show the tax rate and amount separately.
- Add the subtotal and taxes to show the final total amount due.
i. Payment instructions and methods
- Tell the client how to pay you. Include bank transfer details, PayPal email, or other payment options.
- Mention any additional fees for certain payment methods, if applicable.
j. Additional notes or terms
- Use this section to add any extra information like late fees or a thank-you note for working together.
- Example: “Thank you for the opportunity! Please contact me if you have any questions about this invoice.”
3. How to format your invoice
You can make an invoice in various ways, from a simple Word document or Excel spreadsheet to an online invoicing tool. Here are a few easy options:
a. Invoice templates
- Use a template in Word, Excel, or Google Docs. Search online for “free invoice templates” for various options that you can customise.
b. Online invoicing tools
- Tools like Wave, FreshBooks, or PayPal’s Invoicing make it easy to generate professional-looking invoices.
- These tools can automatically calculate totals and taxes and often allow clients to pay directly.
c. PDF format
- Save your invoice as a PDF before sending it. PDF files keep your formatting intact and look professional.
4. Sample invoice layout
Here’s a simplified layout that shows the structure of a professional invoice:
[Your business name or logo]
Your name
Your address
Your contact information
Invoice #001
Invoice Date: [Date]
Due Date: [Due Date]
Bill To:
Client’s name
Client’s address
| Description | Rate | Quantity | Amount |
|---|---|---|---|
| Writing 5 blog posts | $100 per post | 5 posts | $500.00 |
| Social Media Management | $50 per hour | 10 hours | $500.00 |
Subtotal: | | | $1000.00
Tax (10%): | | | $100.00
Total Due: | | | $1100.00
Payment instructions:
Please make payment via bank transfer or PayPal to [your payment details].
Notes:
Thank you for your business! Please reach out if you have any questions.
5. Tips for sending invoices
- Double-check your invoice before sending it. Make sure all the information is accurate.
- Send promptly after completing the project. The sooner you send, the sooner you’re likely to get paid!
- Follow up politely if a payment is delayed. Sometimes clients need a gentle reminder.
Invoices are not just a formality; they’re an essential part of running your freelance business. A well-made invoice is clear, detailed, and helps you get paid on time. With a bit of practice, you’ll become confident in creating invoices that keep your business running smoothly.

