Instagram is all about being visual. Whether it’s moving images or still photos, it’s really important to get them right. You don’t need to be a professional to make your profile look great. However, to grow your audience you need to ensure your social media accounts draw people in.

Quality over quantity
When it comes to your Instagram, you’re very likely to want to post often. While that is great for your account as it shows you’re consistent, you need to make sure you don’t overlook the quality of your images. You don’t need to own a professional camera to take great photos. Most smartphones these days have high-quality cameras built in. That’s all you need to get yourself on the platform.
Ensure you’re thinking about what you capture. Consider the angles and the lighting within the photos you’re taking. There are plenty of resources out there that can show you how to get the best out of a simple budget set up. It doesn’t need to cost you money, it’s likely you’ll already have all the resources you need. Instead, it’s about what you put into it. If you’re spending time focusing on your images and the quality of them when shooting, the outcome will be much stronger.
If your photos are shot with poor lighting conditions, you’ll need to do a lot of editing work afterwards to try and save the images. This is something you really want to avoid. That’s why photographers spend so long on their set-up, so that the afterthought is a lot smoother and easier. Try shooting for Instagram rather than just snapping as you go. By this, we mean setting your phone to square mode on your camera settings if possible. That way you don’t have to crop anything out of the final image as it’s already prepared for Instagram’s sizing requirements.
A simple guide to using Instagram’s editing features
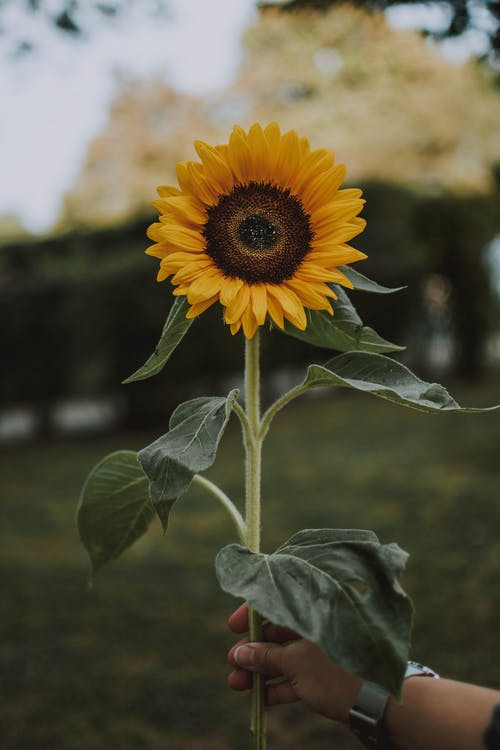
The image above is the one we’ll be using to walk you through this editing session. This photo was acquired from the stock website Pexels. As Instagram has now added a feature allowing users to upload from their desktop, we’ll show you how to edit using this option.
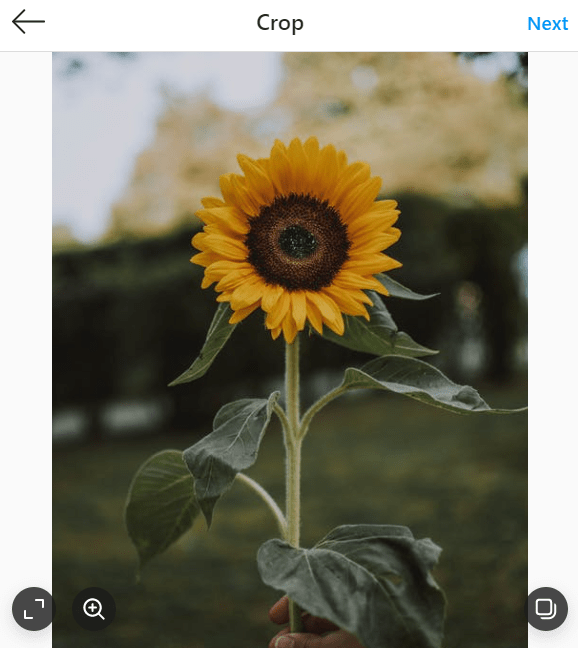
Head to Instagram, either on the app or via your desktop and select the image you want to upload. Once you’ve added it, you can decide whether you want it to be cropped down to fit the square frame perfectly, or if you are happy with the white border like above, you can have the whole image fit into the frame typically.
Filters
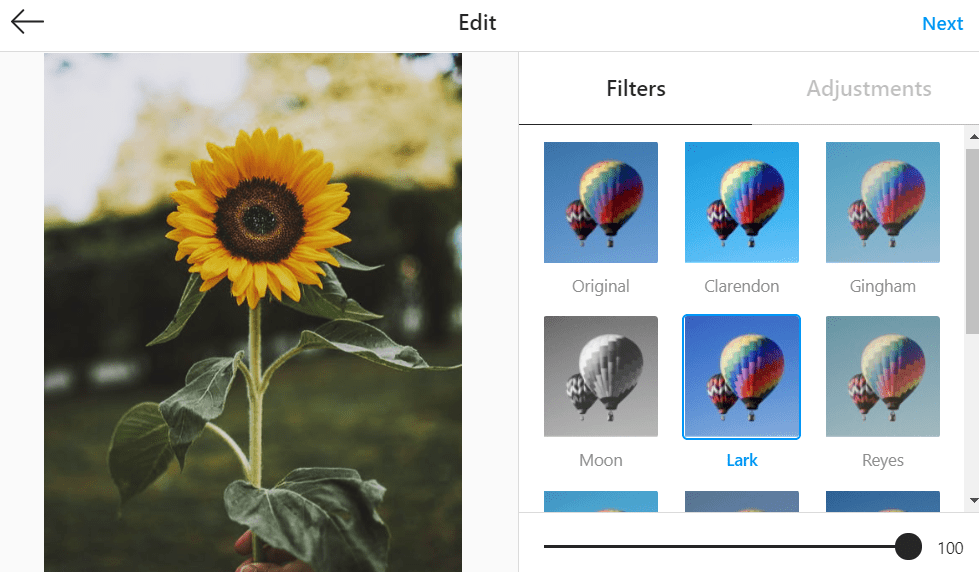
After choosing how to crop your image, you then get the options to edit it. This is again the same for both the desktop version and the app on smartphones. You’ll see above the multiple filter options the app provides. You can select these and edit how strong you want the filter to be. For example, if you selected Lark as we have above, you can see the bar underneath that shows 100. If you lower this, it will apply less of the filter to your image.
 PUSH Tip: If you have selected multiple images to upload to one post, you can edit them all separately. They don’t need to all have the same filter and adjustments applied.
Adjustments
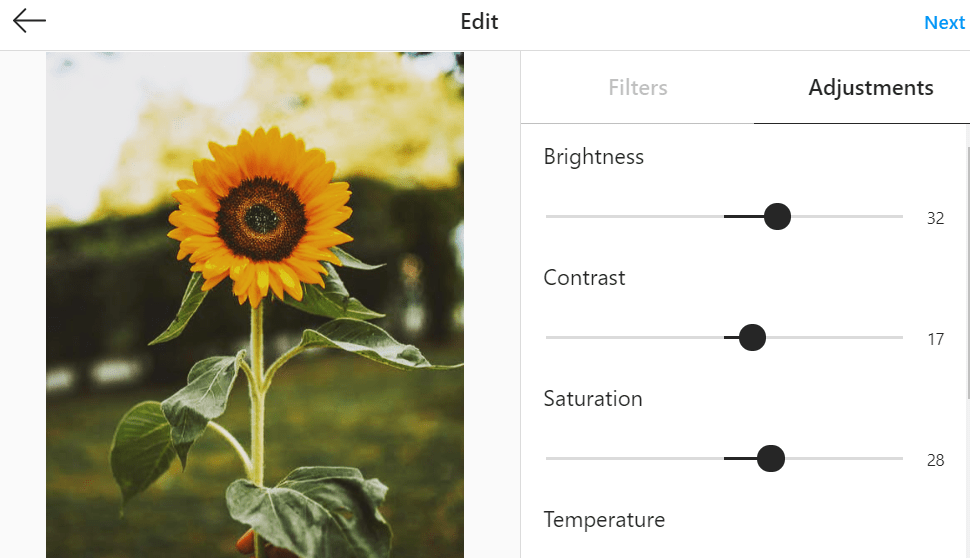
Next to the filters, there’s an adjustments section. This allows you to change the brightness, contrast and more. When editing your images, try different things out. You’ll soon work out what looks good and what doesn’t. Some things might work for one image that don’t work for another, so it’s important to keep this in mind. It isn’t a one rule for everything deal. From the first image you can see the progression to the above photo.
PUSH Tip: If you want more control over the editing settings then make sure you upload your post via your smartphone. This has more options such as highlights and shadows, so you can alter more within the image, adding depth in different areas.
Brightness – Adjust the brightness within your image.
Contrast – The darker and lighter parts of the image are enhanced or reduced.
Saturation – Change the intensity of the colours within the photo.
Temperature – To increase the warm tones of the image, increase the temperature.
Caption
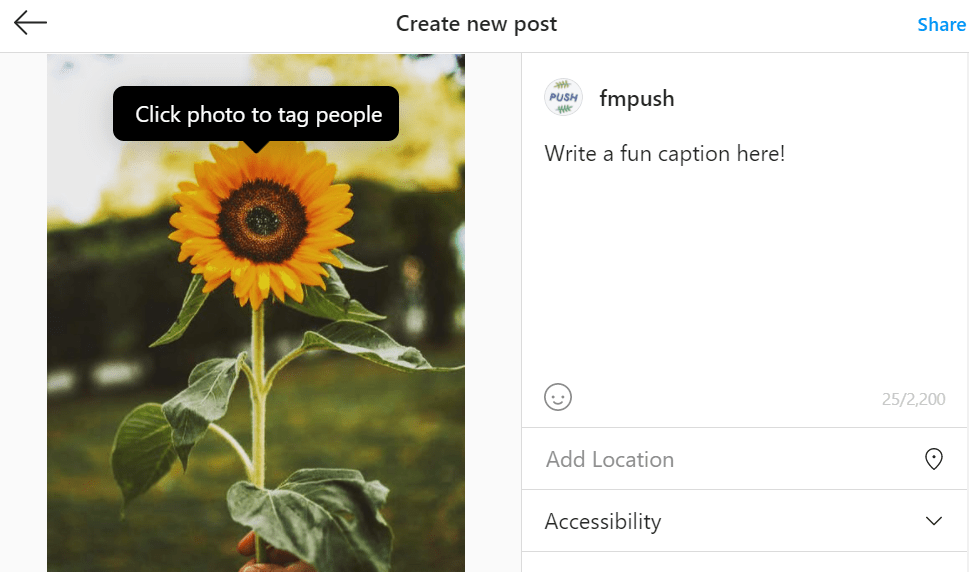
Once you’re happy with how your image looks, you need to come up with a caption. Depending on the image, your caption could be something funny to draw people in, or perhaps it will be more informative. It all depends on your audience and your content. This is a place for you to sum up your photo and the meaning behind it. As a content creator, you might want to let your followers know what you’ve been working on lately.
After deciding on the perfect caption, don’t forget to tag anyone who is relevant to this photo. If it’s a collab, you’ll want to mention their Instagram name here. You can add a location if you want your followers to know where you are or where the image was captured. Don’t forget to add hashtags, they’re really important if you want your profile to be discovered by more people.
Just like that you’re ready to go. Check and double check everything within your image before you click share. Once it’s up you can’t edit the image. However, you can alter the caption and tags if needed so don’t be concerned if you make a typo. You don’t need to delete the photo and start again. Now you can watch the likes and comments come rolling in. Remember, it’s important to respond to people who take the time to comment on your photos. This helps drive them to come back in the future.
