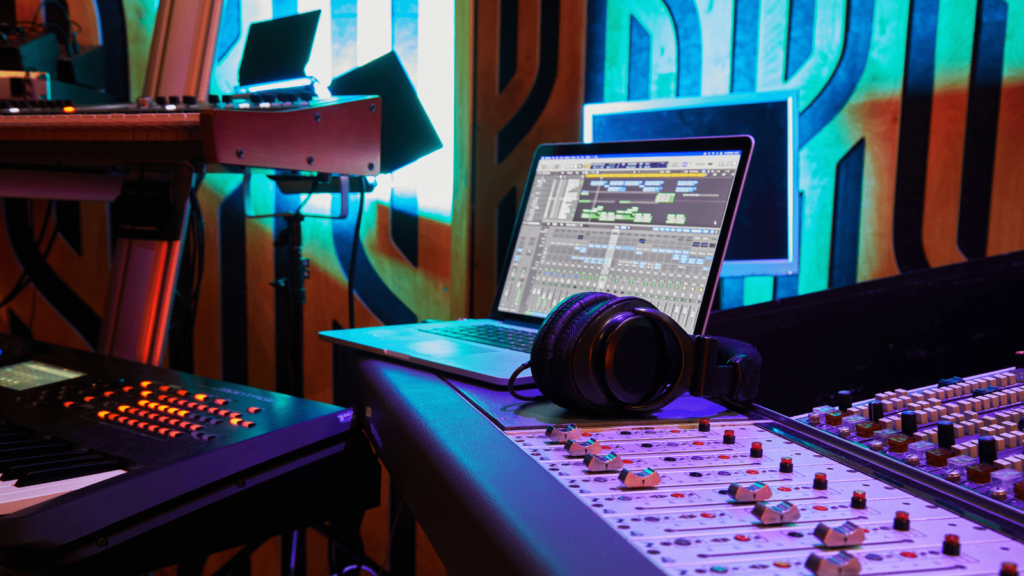
Starting music production can feel overwhelming—especially if you’ve never touched a DAW (digital audio workstation) or don’t know your EQ from your BPM.

But here’s the good news: you don’t need fancy gear or years of training to get started. You just need curiosity, patience, and a willingness to experiment. Here’s a step-by-step guide to help you dive into music production, even if you’re starting from absolute zero.
Step 1: Choose your DAW (your main software)
Your DAW is the central hub where you’ll create, record, edit, and mix music. Think of it like your canvas.
Here are a few beginner-friendly options:
- GarageBand (free on Mac and iOS): Great for total beginners.
- FL Studio: Popular for electronic and hip-hop production.
- Ableton Live: Versatile, especially good for live performance and electronic music.
- Logic Pro: Powerful, especially for Mac users.
Start with a free trial or the Lite version if you’re not ready to invest right away.
Step 2: Learn the basics of your DAW
Before jumping into full songs, get to know the software. Learn how to:
- Add a track (MIDI or audio)
- Load virtual instruments or drum kits
- Record and edit notes
- Use loops and samples
- Export a simple beat or song
YouTube tutorials are your best friend here. There are tons of beginner walkthroughs for every DAW.
Step 3: Start simple—make a beat or loop
Don’t overthink it. Choose a drum kit, lay down a basic rhythm, then add a melody or bassline using a virtual instrument. Try using pre-made loops if you’re unsure where to start. This isn’t about perfection—it’s about getting comfortable.
Aim to make a 30-second loop that sounds good to you.
Step 4: Play around with effects
Try adding some reverb, delay, or EQ to your track. These tools help shape the sound and bring your music to life.
You don’t need to understand all the technical details yet. Just experiment and listen to how each effect changes your sound.
Step 5: Keep your setup simple
You don’t need expensive gear. To start producing, all you really need is:
- A laptop or tablet
- Headphones or basic speakers
- Your chosen DAW
Optional extras later on:
- A MIDI keyboard (for playing melodies more naturally)
- An audio interface (for recording vocals or instruments)
- A microphone (for vocals or live sounds)
Step 6: Practice consistently
Set small, achievable goals. For example:
- Make one beat per week
- Recreate the structure of a song you like
- Learn one new effect or tool every few days
You’ll improve faster by doing rather than waiting until you “know enough”.
Step 7: Share your progress
Even if your first tracks aren’t perfect, share them with friends or on social platforms. Getting feedback and documenting your journey can be hugely motivating—and you might inspire others to start too.
You don’t need to be a music theory genius or tech wizard to start producing. Some of the most creative producers began by messing around in their bedrooms with no formal training.
Trust your ears, follow your curiosity, and give yourself permission to make bad tracks while you learn. Every great producer started somewhere. So open your DAW, make some noise, and have fun with it. You’re officially a music producer now.


