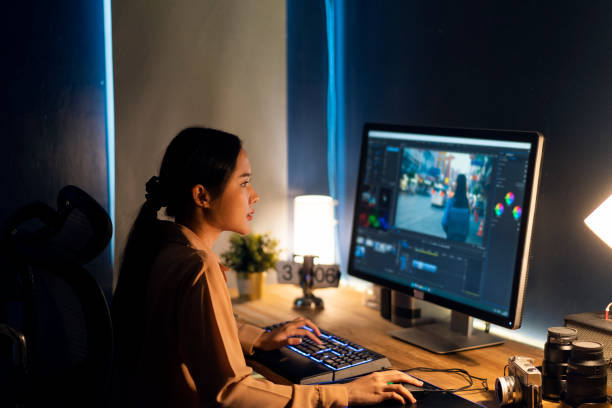
Editing your photo can be a difficult game. Some over-edit and change the entire image. This can be damaging to the contrast and colours and can ruin your image completely. However, some also miss out on certain areas which might need a boost.
Photo editing can make a significant difference in the quality and appeal of your images. Whether you’re a beginner photographer or someone looking to enhance your photos for social media, learning some basic editing techniques can take your pictures to the next level. Here are some simple photo editing tips to help you get started.
1. Choose the right editing software
The first step in photo editing is selecting the right software. Beginners often start with free or low-cost programs that offer essential editing tools. Popular options include:
- Adobe Lightroom: Great for adjusting exposure, colour, and detail.
- Snapseed: A free app with powerful tools and filters, perfect for mobile editing.
- Canva: Ideal for beginners who want to quickly enhance photos and add text or graphics.
Choose a program that suits your needs and gradually explore its features.
2. Crop and straighten your image
Cropping helps you remove unwanted elements and focus on the main subject of your photo. When cropping, pay attention to composition rules like the Rule of Thirds, which places your subject along imaginary grid lines to create a more balanced image. Also, ensure your photo is straight—an uneven horizon can distract viewers.
Tip: Most editing programs have an auto-straighten feature that can correct slanted images with one click.
3. Adjust exposure, contrast, and brightness
Lighting is one of the most critical elements of photography. Even a well-composed photo can look flat if the lighting isn’t quite right. Use the exposure, contrast, and brightness sliders to adjust your image’s light levels:
- Exposure: Controls the overall lightness or darkness of your photo.
- Contrast: Increases the difference between the light and dark areas, making your image pop.
- Brightness: Fine-tunes the overall light in your photo without affecting shadows or highlights too much.
Tip: Be careful not to overdo it—too much contrast or brightness can make your photo look unnatural.
4. Play with colours – white balance and saturation
Colour adjustments can dramatically change the mood of your photo. Start by adjusting the white balance, which corrects any colour casts that make your photo look too warm (yellow) or too cool (blue). Then, tweak the saturation and vibrance to make colours pop without going overboard.
- White balance: Adjusts the colour temperature of your photo.
- Saturation: Increases the intensity of all colours in your image.
- Vibrance: Boosts muted colours without affecting already bright areas.
Tip: Aim for natural-looking colours. Over-saturation can make your photos look unrealistic.
5. Sharpen your image
Sharpening enhances the details in your photo, making textures and edges more defined. Most editing software has a “Sharpen” or “Clarity” tool that you can adjust with a slider. Be subtle—too much sharpening can introduce noise and make your photo look grainy.
Tip: Use sharpening selectively, focusing on key areas like the eyes in portraits or the main subject in landscape photos.
6. Remove unwanted objects
Distracting elements like stray objects or blemishes can take away from an otherwise great photo. Use the clone or healing tools to remove unwanted items. These tools are usually intuitive and allow you to “paint” over distractions, blending them into the background seamlessly.
Tip: Zoom in while editing to ensure you’re removing objects accurately without leaving noticeable traces.
7. Add a vignette
A vignette darkens the edges of your photo, drawing the viewer’s attention toward the centre. This is a great way to subtly enhance your subject and add a professional touch to your images. Most editing apps include a simple vignette tool that lets you adjust the intensity and shape.
Tip: Keep the vignette effect light to avoid an overly edited look.
8. Use presets and filters wisely
Presets and filters are quick ways to apply a specific look or mood to your photos. They can save time and help you achieve a consistent style, especially useful for social media. However, it’s essential to use them wisely—some filters can overly manipulate your image, making it look inauthentic.
Tip: Choose subtle presets that enhance, rather than overpower, your original photo.
Photo editing doesn’t have to be intimidating. By mastering these simple techniques—cropping, adjusting exposure, tweaking colours, sharpening, and removing distractions—you can transform your images from good to great.
As you become more comfortable with these basic tools, you can explore more advanced editing techniques to further refine your skills. Remember, the goal of editing is to enhance your photos while maintaining their natural beauty, so start simple and build your confidence.


